Microphone Polarity Testing
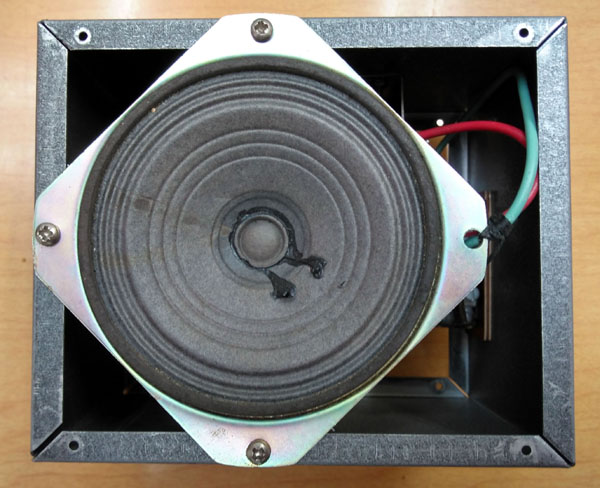
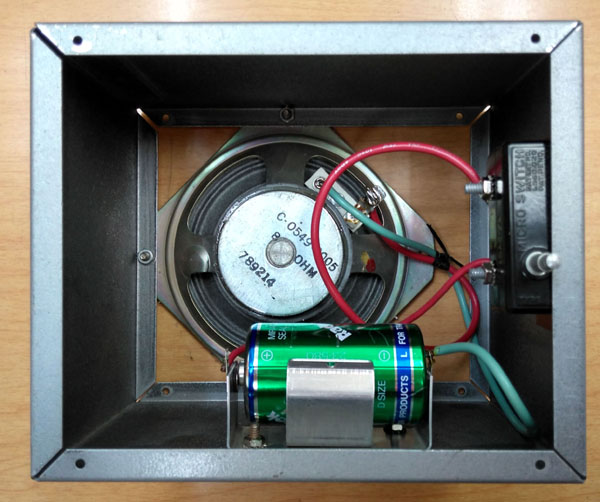
I made this years ago. It's just a small intercom speaker in a steel box with both front and rear covers removed. Wire the voice-coil in series with a D-cell and a momentary-contact snap-action switch. NOTE: I have since changed from a D-cell to a 9V battery for a more definitive cone movement.Wire the battery polarity so that switch on, the cone moves out. Switch released, the cone moves back. CLICK... THUMP... Be sure to use a switch with minimal contact-bounce; I used an old Micro Switch snap-action switch (this type of switch is still made and is a trademark of Honeywell International Inc).
After recording the test, examine the waveform on your favorite waveform editor and expand as needed to see which way the leading edge of the pulse starts. This verifies absolute phase from microphone to recorder.
Every time I use this I marvel at its simplicity and effectiveness.
It's not unusual to find that older microphones are Pin 3 hot while newer ones are Pin 2 hot. And it's also not unusual to find that associated electronics equipment has inconsistent (or unexpected) phase-reversals. It's also a good idea to mark your microphone input panel PIN 2 HOT or PIN 3 HOT as needed to ensure everyone knows.


All tradenames/trademarks mentioned above are the property
of their respective owners